Saturday, April 30, 2011

Circles and Spirals

I just finished making a small series of filigree earrings and thought I would share some of the great pictures with you, along with a bit of the process and some other cool things as well. As you may or may not know all of my projects start as casting grain which I then process into the various elements I will need to fabricate the piece/s. For more information on my work methods please visit the Work Processes/ How Metal Works page on this blog.

New Spiral Filigree Stud Earrings! Now for sale on Etsy! CLICK HERE to visit the full shop and new earrings!!!
So these spiral stud earrings came about from the series of brooches I made a while back, I also have a necklace made so just a few more pieces and it will be a full set!

To read more about these brooches CLICK HERE.
I really like using my filigree in very tight coils as I feel it creates a dizzying movement which mesmerises me.

Wax on wax off... Rinse and repeat... 
Although it is a very tedious process to fabricate and use filigree, the most tedious part of this process for me is creating the earring backs. Just having to fabricate earring backs makes me not wan't to make post style earrings. 

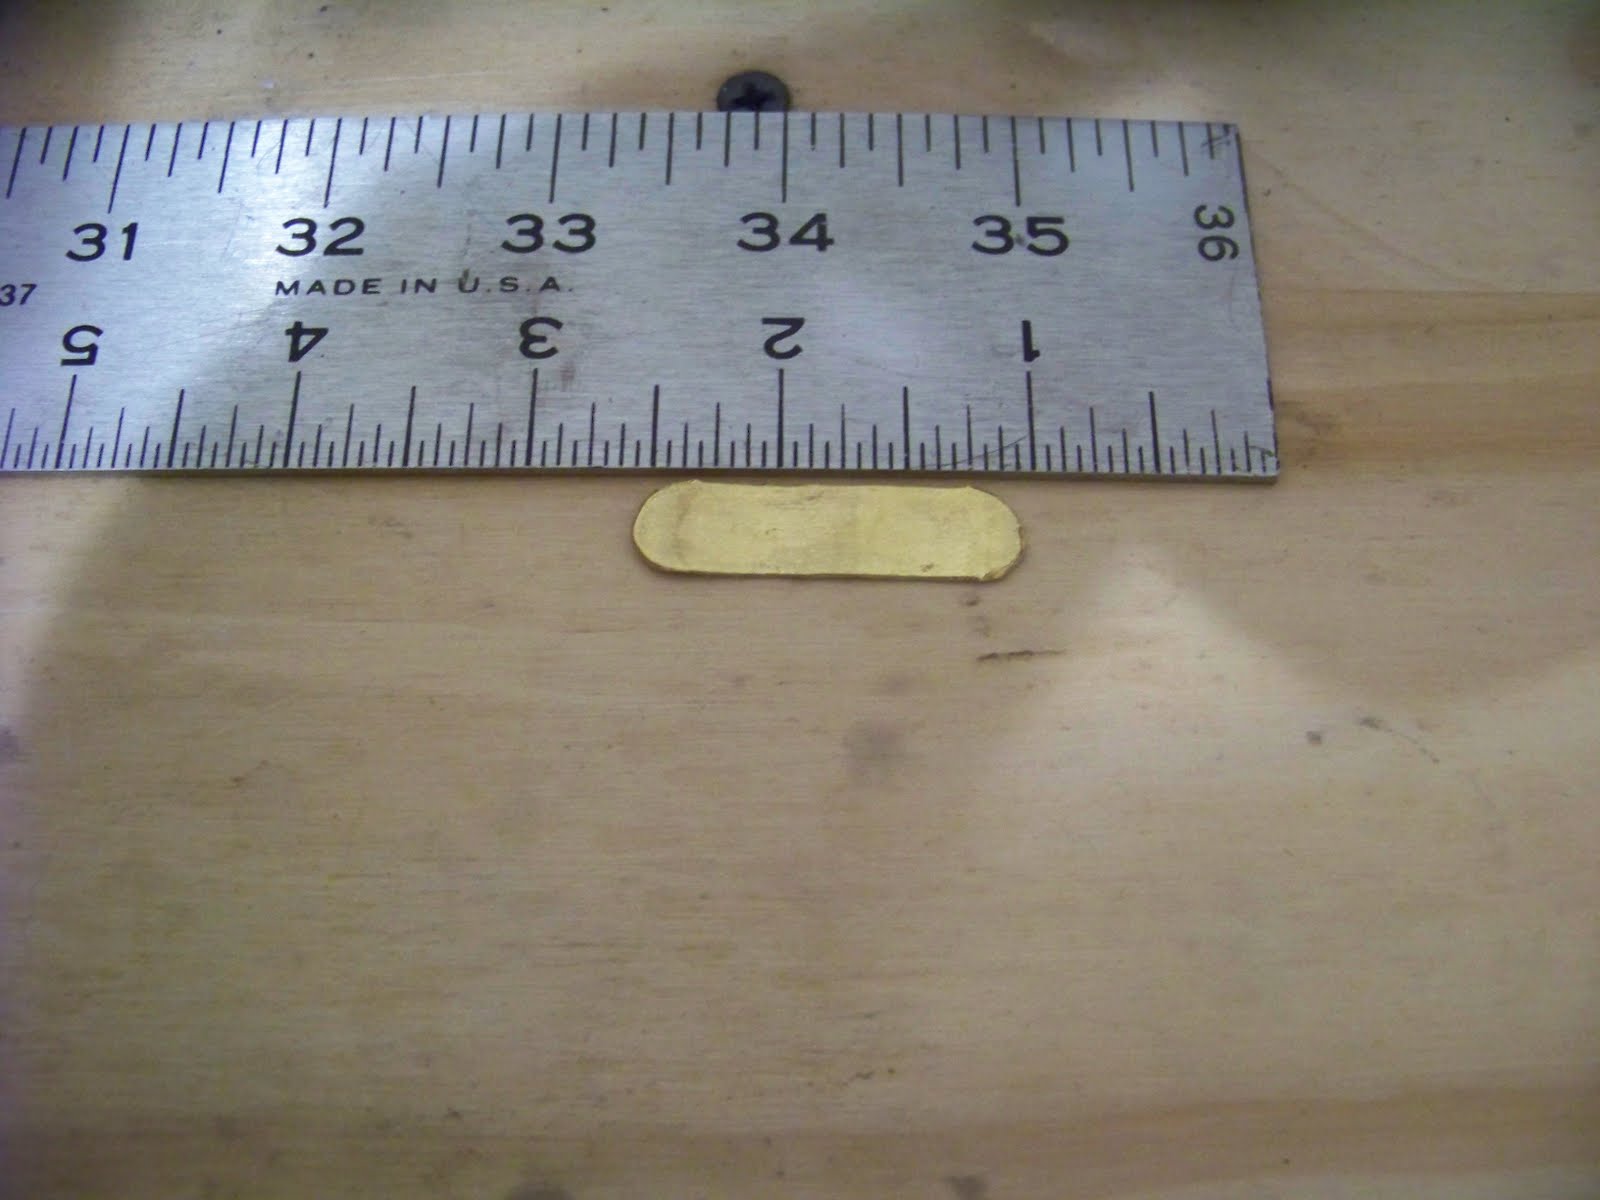
I thought this was a cool glimpse into the final steps of creating an earring back. 
But if it isn't earring backs its something else and in the end all the hard work is always worth it; and I always enjoy being able to say that I made every little bit of those earrings. . . Such is life. 


Although these are the first earrings I make in this way I have used filigree in another piece of ear adornment. I made a pair of filigree plugs last Christmas for Kaylee but forgot to photograph them until just now. Even after seeing daily wear and tear for almost 5 months now, the are holding up just fine.

"Kaylee's Plugs"(front), Daniel Icaza, 2010, Reversible Fine Silver, Filigree, Copper/Brass/Nickel Mokume-Gane 
I had always wanted to make a pair of filigree plugs ever since I saw some that my good friend Ben Isaiah made. For more info on Ben, his work and the plugs that inspired me please follow this link CLICK HERE.

"Kaylee's Plugs" (back), Daniel Icaza, 2010, Reversible Fine Silver, Filigree, Copper/Brass/Nickel Mokume-Gane 
As much as I do LOVE filigree I also LOVE mokume-gane, so I really LOVE finding ways to integrate both techniques whenever I have an opportunity. In the Case of Kaylee's plugs I decieded to make them reversible with filigree on one side and mokume on the other. 

"Kaylee's Plugs" (front/back), Daniel Icaza, 2010, Reversible Fine Silver, Filigree, Copper/Brass/Nickel Mokume-Gane 
Although I really love these pieces and enjoyed making them, I must say that the process of creating plugs of a specific size is quit challenging. Particularly when you can't ask for the size or measurements  because you want it to be a surprise...  

Kaylee's ear totally decked out in filigree. . .  For more info on Kaylee and her art CLICK HERE.
Fortunately everything fit great and looks awesome as well. I guess that is all I have to say for now. As usual I am sure I will be back soon. Until next time.
Peace and Love. 

Wednesday, April 27, 2011

Staying Fresh

Although I always have more than enough projects to keep me constantly busy and feeling overwhelmed, I am always driven to create new pieces that don't fit into any particular body of work. 
"Twilight Sphere", Daniel Icaza, 2011, Mixed Media, Paper, Pen, Marker, Acrylic Paint
I am not quite certain what these pieces are about or even what they mean to me, perhaps their deeper meanings may be revealed to me with time. Currently I am just happy to enjoy them and share them and hopefully they find some meaning in your life.  

"Psylocibin Sunset", Daniel Icaza, 2011, Mixed Media, Paper, Pen, Marker, Acrylic Paint 
Since I am really happy with these pieces I have decided to create a few more designer products on my Zazzle store featuring these designs so you can feel free to check out the new items now available. Here is a direct-link to the new designs Daniel Icaza New Zazzle Products.
Be back soon, until next time,
Peace and Love.

Wednesday, April 20, 2011

Art or Money?

That is the question. All money has to be designed or artistically created at some point, but when does art turn into money and money turn into art? After a few email conversations, I have entered into a sort of collaboration with another "Money Artist" who is asking the same questions, but going about it in a different way. The recently opened Exchanghibition Bank a money based art project (or art based money project?) by artist Dadara will be the source for my next few "money/art?" notes that I will be bonding for "Monetary Bondage".

Me opening envelope
I just received my first few notes today and can't wait to get started with designing the "frames" that will bond these gorgeous bills. I figure special "bills" deserve special treatment, so I am going to try something  new for these "money notes" and hopefully it works out the way I have it envisioned in my head.

This is some truly beautiful and inspiring "money" 
I'll be sure to document the entire transformation (bonding) process and keep you posted on how things progress. It seems the work just keeps piling up, I really gotta start cranking some stuff out, oh well, I guess I really can't complain about having to much "work" these days.
I just want to throw in a quick thank you to Dadara and the Exchangibition Bank for supporting my crazy idea.
I'll be back soon I'm sure, until then,
Peace and Love.

A Stroll Down Memory Lane

In my last post I mentioned an old project I made while at ASU. After thinking about it for a while, I decided to see if I had any pictures of that work. Turns out I do have a few pictures and with Easter right around the corner I figured it would be a great time to share this small series of works. I'm sorry that the pictures are not the best, but I would have to dig these pieces out of my mom's house to re-photograph them, so these will have to due... Sorry.  

"Rose Egg", Daniel Icaza, 2006, Mixed Media/ Sculpture, Chicken Egg, Acrylic Paint, Glitter, Ribbon, Fabric, Copper , 
It all began with a class project, we had to pick a dead artist and decide what they would make if they were alive today and then make it. I decided to go with one of my metal-smithing idols, Peter Carl Fabergé. After much research on the man, the artist and his workshop, I came to the conclusion that if he were alive today, he would continue making his most treasured and famous bodies of work; his Imperial Fabergé Easter Eggs,  but with a twist. 

"Nest Egg", Daniel Icaza, 2006, Mixed Media/ Sculpture, Chicken Egg, Acrylic Paint, Copper, Ribbon, Feathers, Plaster
Alive in the present day he would come to the sad realization that many of his works were dismantled for their precious metals and stones and consequently lost to the world forever. In response to this, he would abandon working with precious materials and instead make incredible Easter eggs using less valued materials. In doing so he would ensure that his creations would be cherished for their artistry and not their material value. 

"Star Egg", Daniel Icaza, 2006, Mixed Media/ Sculpture, Chicken Egg, Acrylic Paint, Glitter, Copper,  Sequins, Cotton, Plaster, Ribbon 
This set of really special Easter eggs are what I came up with to represent what Carl Fabergé might make if he were alive today. I was always inspired by the incredible craft and artistry present in Fabergé's eggs and I was really happy to have such a curious opportunity to create something based off of objects that inspire me so much. If only we could always feel this way about class assignments...  

"Garden Egg", Daniel Icaza, 2006, Mixed Media/ Sculpture, Chicken Egg, Acrylic Paint, Fabric, Glitter, Ribbon, Wire
It's odd but some times it feels easier to come up with interesting ideas when you are pushed by school assignments and due dates. On the other hand, you occasionally get the assignment from hell and all your motivation goes out the window. 

"Sea Egg", Daniel Icaza, 2006, Mixed Media/ Sculpture, Chicken Egg, Acrylic Paint, Glitter, Ribbon, Wire, Cotton, Plaster, Plastic Pearls,   
These days I am fortunate to have more ideas than I can handle, so I always get to stay busy creating. The only issue I have is deciding which projects to dedicate my time to. I guess that is the nice part about school you know where your time needs to go (for the most part).
Well that's enough reminiscing for now I hope you enjoyed this stroll down memory lane with me and that you have a very pleasant "Easter Holiday" however you choose to enjoy it. 
until next time.
Peace and Love. 


Tuesday, April 19, 2011

More Walks Down Beaches

Feeding my match-book addiction has been very fulfilling and here is the newest match-book creation. 

"Tide Pool" (front) Daniel Icaza, 2011, Mixed Media, Red Coral, Fresh Water Pearls, Crystals, Acrylic Paint, Sea Shells, Sand, Match-Book 
 Still stuck under water for now but I still haven't gotten bored with the theme so on it will go...

"Tide Pool" 
 I'm not sure why I love this concept so much, but I have always enjoyed taking mundane objects and transforming them into little treasures. I am having flash backs of sophomore year at ASU and a project I did where, I transformed normal chicken eggs into mock Faberge Eggs; not to mention "Monetary Bondage" and the transformations present there.

"Tide Pool"
 I have a few more boxes already started and with a little luck they should be done in a few days and I'll have a few more tiny vacations in boxes to share with you.

"Tide Pool" 
I guess that does it for now. Its back to the studio for more creating, until next time,
Peace and Love.

The Color of Money?

More "Monetary Bondage"... I just finished another piece of "Money Art". I suggest clicking on this picture and taking a closer look at this piece; as the reflective surface of the green (transparent) glass makes it difficult to appreciate the details (underneath the glass). . .

"Green and Gold Quarter Dollar?" (front) Daniel Icaza, 2011, Gold, Fine Silver, Copper, Vitreous Enamel, 1964 USA  Quarter Dollar  
 I call this one "Green and Gold Quarter Dollar?". There are a few interesting bits of information on this piece. This piece was created using one of the plates that was etched in the "Copper Soup" and it is also the first piece I have made for this series that features a completely enameled surface. As this was the first piece to be created this way I had a few issues, but I am quite satisfied with the finished result and I feel it has a strangely organic feel to it.

"Green and Gold Quarter Dollar?" (back) Daniel Icaza, 2011,  Gold, Fine Silver, Copper, Vitreous Enamel, 1964 USA Quarter Dollar 
 I had a lot of fun  making this piece and really enjoyed the added color achieved with the new enamelling approach, I can't wait to see what the next few pieces will end up looking like.
More too come soon....
Peace and Love until next time.

Monday, April 18, 2011

Money Talks...

It seems my whole life has and continues to revolve around "dollars" and "cents"... I really despise this fact of life, and I greatly long for an alternative. 

"Money Talks"
Unfortunately it seems the whole world is blinded by money... I guess I'll just join the masses for a few minuets and let money rule my world... It's just to bad money can't buy happiness, or the world might not be such a turbulent place.  

"Monetary Bondage"
What does money do for you? and what do you do with your money? I like to highlight the uselessness of my money; after all what does money really do besides stand in and represent something of "true value". Once "money" is transformed into something people cannot easily place a value on the entire concept is challenged. Many times people ask me if I am ever hesitant to "sacrifice" my money for art and I never think twice. I don't like money, I would even go as far as to say I hate the blasted stuff.
I enjoy love, life, the air and the earth... After all what else are we given?  
Until next time...
Peace and Love.

Thursday, April 14, 2011

Another Trip to the Bottom of the Sea

I jut finished my second match-book and another pair of lockets for "Money Ache", so I thought I would share them...

"Lost at Sea" (front), Daniel Icaza, 2011, Mixed Media, Brass, Red Coral, Fresh Water Pearls,  Crystal, Acrylic, Sea Shells, Sand, Match Book

I really have this sea/water theme stuck in my head. I already know what I want to do for the next match-book so hopefully inspiration doesn't leave me high and dry. 

"Lost at Sea"
Thankfully I have even had a few ideas for match-books with other themes, but for now I've got a fever and the only cure is more "sea-escapes".

"Lost at Sea"
I'm quite pleased with my vacations in tiny boxes. It was quite tedious to make the tiny little anchor and chain and I wasn't sure how sturdy it would be but, it seems to be holding up just fine.

"Money Ache" (front), 2011, Daniel Icaza, 2003 + 2005 500 Colones, Fine Silver, Brass
Here are the two newest lockets. This is not a mirror trick, one is a lefty and the other a righty; not to mention they are different in subtle ways. 

"Money Ache" (back), 2011, Daniel Icaza, 2003 + 2005 500 Colones, Fine Silver, Brass
I really have to start making the chains for these lockets, but I enjoy making the lockets so much that the chains have been put on the back burner for now. I will get them done though I promise. 

"Neptune's Realm" (left), "Lost at Sea" (right)
Here are the first two match-books laid out together I feel that they compliment and balance each other quite well, I cant wait and see how the collection grows. I guess that does it for now, I hope you enjoyed the recent work. I'll be back soon.
Peace and Love. 


Wednesday, April 13, 2011

Copper Soup... The conclusion.

Just in case anyone would like to know what happened to the "copper soup"... After allowing the plates that were in the solution to etch (thankfully they came out just fine), I let the solution sit out and react with the oxygen in the air for three days. This would typically revitalize the solution and change its color back to a brighter, lighter green. I had used this solution several times in the past and always done this to reuse it again later. This is the first time I have encountered the precipitate and "soup skin" effect with this solution.


As you can hopefully see the solution has become lighter in hue but, it has also evaporated quite a bit and now has a thick layer of precipitate at the bottom of the tray.


After a bit of agitation the precipitate gets stirred up and the milky white color returns. I'm quite certain that if I where to place some copper in this solution it would still get etched, but I just don't trust it at this point as I am really not sure what is going on at the moment.


As I don't trust this stuff any longer and it is evaporating faster than it is "re-activating" I'm going to say good bye to the copper soup. For my next etch I will mix up a fresh batch of etching solution and proceed to use that to over and over and we shall see if I end up with another batch of copper soup... we shall just have to wait and see... That's all for now  but I'm about to finish a few new projects so I'll be back soon.
Peace and Love.

Monday, April 11, 2011

Third Entry: How to Roll Sheet Metal (Making Gold Foil/Leaf)


Welcome to the third entry in this series of articles. Here I will discuss how to process a cast ingot into sheet metal; I will be specifically making gold foil/leaf in this guide. The first step in creating your own sheet metal is having the appropriate starting material and the appropriate tool set. The process of rolling sheet metal is very similar too creating your own wire. Click here to read an article on how to roll and draw wire.

Necessary Materials and Tools:

-Rolling mill (with flat rollers for sheet metal)
-Measuring tool (caliper or gauge plate) 
-Annealing Area (fire proof work area)

In the picture below you can see a cast gold ingot (right), a small piece of gold which I have already begun to roll out (center), and a small piece of gold foil/leaf (left). Typically, this type of ingot would be used to make wire, but as I only need the foil for small details, I can easily take advantage of a long strip of material instead of a big sheet of material.


Once you have your material selected it’s time to start passing it through the rolling mill. I will be processing the small piece of gold in the center of the picture above. To begin passing your material through the mill, adjust the height of the rollers until the piece of material passes freely through the gap. Once the rollers are in this position, bring the rollers together by a quarter to half turn and stop once the material will no longer pass through the opening. Note: Never adjust the position of the rollers while material is in the mill.  


Once the rollers are in the correct position you can pass the piece of material through the rollers by turning the hand crank. Retrieve the material from the other side of the mill, tighten the rollers by another quarter to half turn and make another pass through the rollers with the material. Since sheet metal only needs to be “worked” on two sides, each time the material passes through the rollers, the material makes a “complete pass” through the mill; and does not need to be rotated or flipped and passed through the mill again. This is in contrast to passing material through a wire mill where the material needs to be worked on four sides instead of two. Continue making passes through the mill until your material reaches half its original thickness.


At this point the material needs to be annealed before it can be processed any further. Some materials may require more frequent annealing, but as a general rule of thumb you should anneal your material once it has been reduced to half its thickness. For this reason, it may be useful to keep a measuring device handy so you can keep track of the thickness of your material as you are working. When annealing gold, one can heat the material to the point that it glows red, but this is not necessary or advisable. Similar to silver, gold begins to turn a “frosty” sort of color as it is heated and this is an indication of a sufficient annealing temperature. In the picture above you can begin to see the thick silver wire transition from “cold worked” metal to annealed metal; as the far end of the material begins to appear “frosty” and the other end still retains its shinny luster.


After your material has been annealed and returns to room temperature. You can continue to make more passes with your material through the mill, just make sure to re-anneal your material when appropriate. Continue this process until your material has reached the desired dimensions (thickness, length, width, etc…); the maximum size sheet you can produce will always be determined by the size of the rollers on the mill.  In this particular case, I am going to continue rolling my material to the extreme as I want gold foil… Although, even after only a few passes the transformation of the material is very apparent.


 After annealing and making a few more passes, we gain a little more length as the material becomes thinner and thinner.


After another round of annealing and rolling, we can really appreciate the transition this small piece of gold has under gone. However, this is still not foil. To achieve foil we need to continue annealing and rolling until the rollers on the mill are making contact with one another. Do not force them shut as that would not be good for the mill, but you do want the rollers to be very close together and tightly shut; just not forced shut. The rollers should not have any visible light between them and you may think nothing would ever pass between them.


 Once the rollers are pressed together we make our final pass through the mill. It is usually advisable to make this last pass with annealed material; as the transition to foil is incredibly drastic. After completing this final pass you should have a beautiful, thin sheet of material; and as demonstrated in these pictures a small bit of material can turn into an impressive bit of foil.  
That concludes this entry and as always I hope you found this informative and helpful and I hope you return to read the next entry… CLICK HERE... Fourth Entry: How to Solder (An Introduction to Silver Brazing)


Daniel Icaza 4/11/11


Saturday, April 9, 2011

A Little Slice of Imaginary Heaven

I recently decided to try my hand at an idea I had never seen before until quite recently. Thanks to my girlfriend Kaylee, who is always researching and finding cool stuff on-line. She recently began to dabble in "match-book art" and after seeing hundreds of examples all over the web and her own beautiful creations, I decided I had to try and make one of my own. To view Kaylee's match-books that inspired me just click here...

"Neptune's Realm" (front), Daniel Icaza, 2011, Mixed Media, Fine Silver, Red Coral, Fresh Water Pearls, Crystals, Acrylic, Sea Shells, Hemp, Sand, Match Book
At first it was a little difficult to decide what and how to put things into a match box, it is a rather small space after all... I guess being a jeweller and having set small stones and created small mechanisms and hinges gave me a bit of an advantage in dealing with the cramped space. Once the ideas began rolling in it became hard to stop and I think I may have many more match-books ahead of me...

"Neptune's Realm" (back)
Kaylee and I really enjoy beach combing and we have a nice collection of shells and other things found by the sea shore. Sadly as much as we love going to the beach it can be rather difficult to find the time to head out to the beach so I decided to make my self a little sea-escape.

"Neptune's Realm" 
Now I have this tiny little vacation in a box and many more ideas for future match-books. I'm really falling in love with this idea and I wish I would have found out about this really interesting medium long ago, fortunately it's never to late to try something new.

"Neptune's Realm" 
And I always love experimenting with "new"/different mediums as it makes you think in new and different ways you  may have never considered in the past.

"Neptune's Realm" I really love this picture because you can see the little pearl inside the semi-closed clam shell on the left side of the box just barely peeping out...
I hope you enjoyed this little "vacation to the sea" and I hope you stop by again to see what new developments and creations pop up as time goes on.
Peace and Love

Friday, April 8, 2011

Copper Soup and Other Dietary Concerns

I'm just going to go ahead and jump into this one...
So about a month ago I found out about this up coming art exposition in Liberia (Costa Rica). The show is tentatively scheduled for September 2011 and the theme is "gastronomy". At first I wasn't sure what to make of the theme, but I knew I wanted to participate in the show, fortunately after reading a little more about the exposition, I have come to find that it is very open ended, as far as how you choose to approach the theme. I love it when themes are open ended as it allows the mind to run free and wild.
As I am constantly expanding on "Monetary Bondage", I thought of a hundred different ways to be able to argue the relationship between "food" and money using the pieces I already have made. However, I also wanted to try and come up with something just for the show that could some how speak more directly to the relationship between "food" and money. I feel that the relationship between food and money is very clear in today's "modern world". Generally speaking, if you don't have money you are not going to eat well or at all. Not to mention that money and concerns over it can manifest in many physical ways often affecting peoples' digestive processes and general health. Having my train of thoughts travel along this sort of path I began thinking of what people tend to do when money is causing them physical discomfort and this is where I ended up...
"Money-Ache", 2011, Daniel Icaza, 1964 Kennedy Half Dollars, Fine Silver, Alka-Seltzer 
"Money Ache" is the current body of work I have begun to work on. Sort of a related off shoot to "monetary Bondage", these coin lockets where designed to house an Alka-Seltzer to directly address the complex relationships between physical well being, nutrition and money.
In the end, I feel a little overwhelmed with the amount of ways one can interpret and consider the complex relationships between food and money. Personally I always end up viewing it as a vicious cycle, thinking about money can make you physically ill and yet you need money to buy food and medicine to improve your overall health and well being... So money makes you sick, but it can make you better as well... It ended up a bit too ironic and dark for my taste but I hope everyone can come away with something from this. I just want throw in a quick thank you to my girlfriend Kaylee for coming up with the name "Money Ache" as it seems to fit the concept so perfectly. If you would like to know more about Kaylee and her art please follow this link.... CLICK HERE...   
"Money-Ache", 2011, Daniel Icaza, 2000 One-Hundred Colones, Fine Silver, Brass, Alka-Seltzer 
These are the first two lockets to be completed, I still need to fabricate the chains that will be attached to the lockets; I got pretty excited to see them get this far so I figured I would share the progress for now. All this talk of money and food has made me hungry for another interesting topic I would like to share with you...
"Copper Soup"
Lying at the bottom of this murky solution are the two newest additions to "Monetary Bondage". This "copper soup" is what my current etch solution has turned into, its really creepy and kind of gross looking, yet has a strange beauty and allure all its own. I'm not certain what or why this is happening, but the solution is still etching the plates so we shall see what the result is when they come out.
Agitating the soup a bit...
As far as I can tell or interpret rather, the solution has become so saturated with copper that the surface has actually begun to "patina" with the air, up close it looks just like a beautiful patina or a neglected penny. If any one actually knows what is happening here I would love to know. The solution has been used quite a bit and is a homemade etch solution of muriatic (hydrochloric) acid and hydrogen peroxide.
A little more agitation and the effects became truly amazing...
As the etch solution is agitated, one can clearly see the usual color of this solution (a very bright to dark almost black green) I have always observed the color of this solution change but this is the first time this pale green color has appeared to accumulate over the surface of the etch bath.
Back to normal??? 
After enough agitation, the color of the solution returned to a relatively normal hue and appearance, but it doesn't take a whole lot of time for the soup to start building up its surface skin again... ew gross...soup skin... And thats my copper soup story, I hope you liked it, I'll be sure to write a follow up on how the etch turned out and what ends up happening to this stew... As well as any new lockets, chains and other interesting happenings. Thanks for reading and I hope you come back to check out the next post.
Peace and Love.