


Welcome to the third entry in this series of articles. Here I will discuss how to process a cast ingot into sheet metal; I will be specifically making gold foil/leaf in this guide. The first step in creating your own sheet metal is having the appropriate starting material and the appropriate tool set. The process of rolling sheet metal is very similar too creating your own wire. Click here to read an article on how to roll and draw wire.
Necessary Materials and Tools:
-A cast metal ingot or thick gauge sheet metal (click here to read an article on how to cast an ingot)
-Rolling mill (with flat rollers for sheet metal)
-Measuring tool (caliper or gauge plate)
-Annealing Area (fire proof work area)
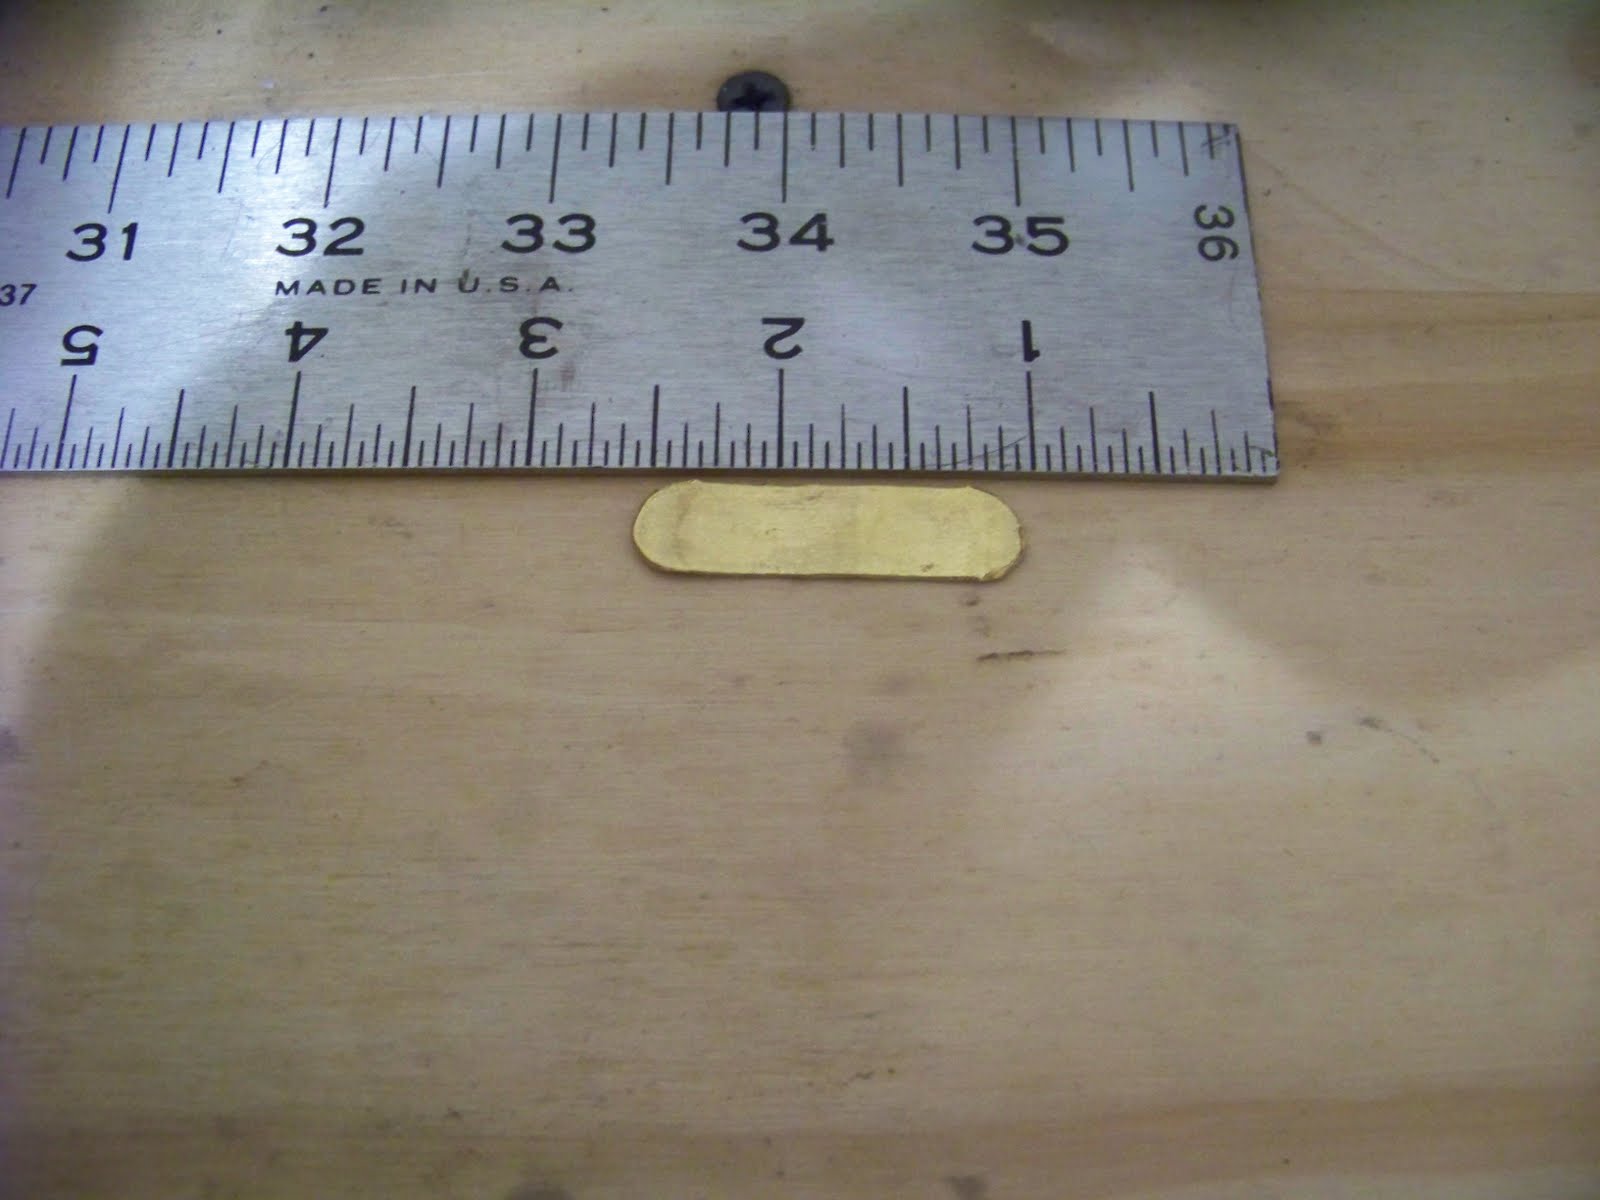
In the picture below you can see a cast gold ingot (right), a small piece of gold which I have already begun to roll out (center), and a small piece of gold foil/leaf (left). Typically, this type of ingot would be used to make wire, but as I only need the foil for small details, I can easily take advantage of a long strip of material instead of a big sheet of material.

Once you have your material selected it’s time to start passing it through the rolling mill. I will be processing the small piece of gold in the center of the picture above. To begin passing your material through the mill, adjust the height of the rollers until the piece of material passes freely through the gap. Once the rollers are in this position, bring the rollers together by a quarter to half turn and stop once the material will no longer pass through the opening. Note: Never adjust the position of the rollers while material is in the mill.

Once the rollers are in the correct position you can pass the piece of material through the rollers by turning the hand crank. Retrieve the material from the other side of the mill, tighten the rollers by another quarter to half turn and make another pass through the rollers with the material. Since sheet metal only needs to be “worked” on two sides, each time the material passes through the rollers, the material makes a “complete pass” through the mill; and does not need to be rotated or flipped and passed through the mill again. This is in contrast to passing material through a wire mill where the material needs to be worked on four sides instead of two. Continue making passes through the mill until your material reaches half its original thickness.

At this point the material needs to be annealed before it can be processed any further. Some materials may require more frequent annealing, but as a general rule of thumb you should anneal your material once it has been reduced to half its thickness. For this reason, it may be useful to keep a measuring device handy so you can keep track of the thickness of your material as you are working. When annealing gold, one can heat the material to the point that it glows red, but this is not necessary or advisable. Similar to silver, gold begins to turn a “frosty” sort of color as it is heated and this is an indication of a sufficient annealing temperature. In the picture above you can begin to see the thick silver wire transition from “cold worked” metal to annealed metal; as the far end of the material begins to appear “frosty” and the other end still retains its shinny luster.

After annealing and making a few more passes, we gain a little more length as the material becomes thinner and thinner.

After another round of annealing and rolling, we can really appreciate the transition this small piece of gold has under gone. However, this is still not foil. To achieve foil we need to continue annealing and rolling until the rollers on the mill are making contact with one another. Do not force them shut as that would not be good for the mill, but you do want the rollers to be very close together and tightly shut; just not forced shut. The rollers should not have any visible light between them and you may think nothing would ever pass between them.

Once the rollers are pressed together we make our final pass through the mill. It is usually advisable to make this last pass with annealed material; as the transition to foil is incredibly drastic. After completing this final pass you should have a beautiful, thin sheet of material; and as demonstrated in these pictures a small bit of material can turn into an impressive bit of foil.
That concludes this entry and as always I hope you found this informative and helpful and I hope you return to read the next entry… CLICK HERE... Fourth Entry: How to Solder (An Introduction to Silver Brazing)
Daniel Icaza 4/11/11
No comments:
Post a Comment